Sometimes people adept at designing things get jammed and stuck by thorny design problems. When that is the case, making a prototype with moveable parts can help to test out various iterations. You can shift them around and play with them to see how they will actually work and feel.
Somehow, I had forgotten this essential technique until a friend reminded me and got my stalled hideaway bed/storage/bookcase unit project MOVING. With the help of a life-size prototype made of Foam Core and a lot of tape, I was able to figure out the design in two days (after an embarrassing amount of time mulling, and working on other projects.) Here’s how the miracle cure worked:
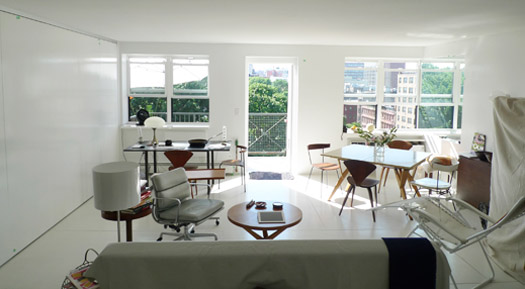
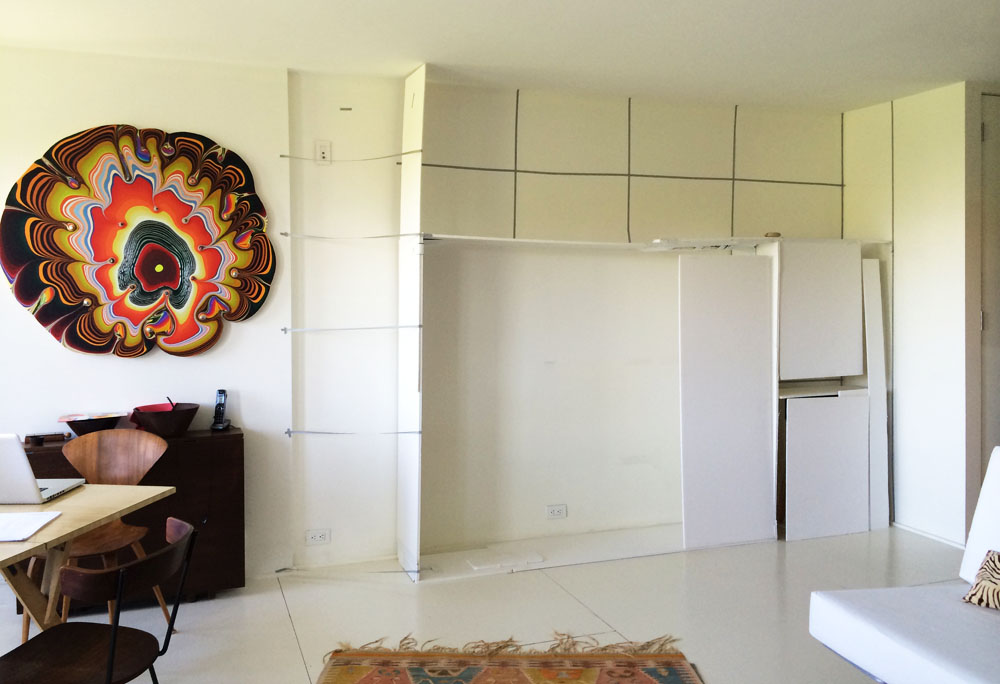
When I removed a bedroom from my 1,000-square-foot apartment to make the spacious Laboratory, I envisioned installing a wall-unit that would include a berth-style Murphy bed, bookshelves and storage. That way, I’d have the extra bed I’d lost, discretely tucked away until needed. (It would go where that big fabric covered box is on the far right of the photo above). The basic renovation of the space had been so demanding, I put the idea on a back burner until I had the time and money to build it, figuring that mulling the idea would yield the answers to the design. In the meantime, I did detailed research into fold-out Murphy bed mechanisms and selected the model I thought would fit best in the space: a horizontal full-size one. I also visited numerous stores that sold the built units, invariably out of particle-board which would cost a lot and not hold up longterm. The styles were far afield from my own, but my surveillance provided lots if info about how the beds worked, how much space they needed, possible layouts etc.

Designing the unit proved more difficult than anything I’d made before because of its numerous constraints:
—it has to include the big 16″ deep rectangle of the wall bed so that it didn’t look like a huge… well…Murphy bed
—it couldn’t obstruct the view from the kitchen of the Holton Rower painting on one wall
—it needed to not fight with the odd geometry work with the already-full-of-rectangles space, with its many doors
—it needed to hold a lot of books despite much of the space being taken up by bed
—it needed to be positioned in the room so that whoever was sleeping in the big open room would be able to see the dazzling view, and not feel they were sleeping in the kitchen or hallway
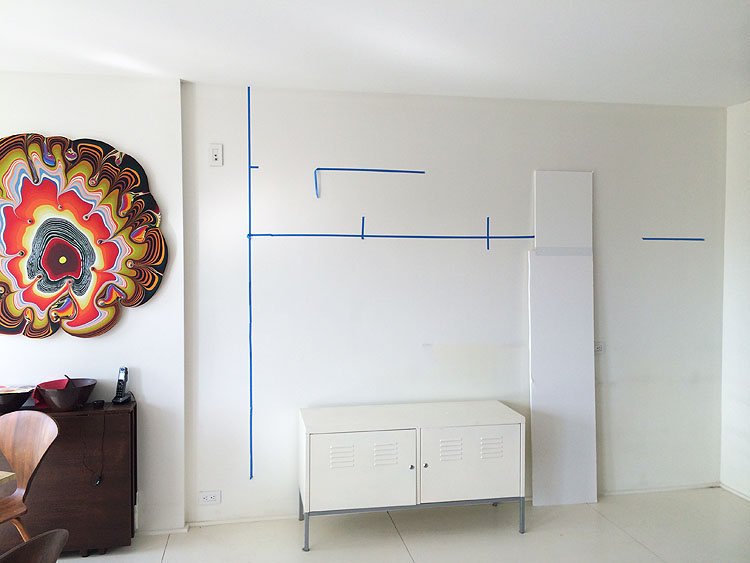
The design stalled when I unexpectedly aquired a Holton Rower painting which needed white space around it, not the 14″-16″ deep Murphy Bedbox that I originally thought would start the indented wall to the right of the painting. As a solution, I envisioned a tall, closed angled cabinet which would go from the painting wall to the Murphy Bed. When I started to block it out with blue tape, the project’s many constraints stymied me. It stalled.
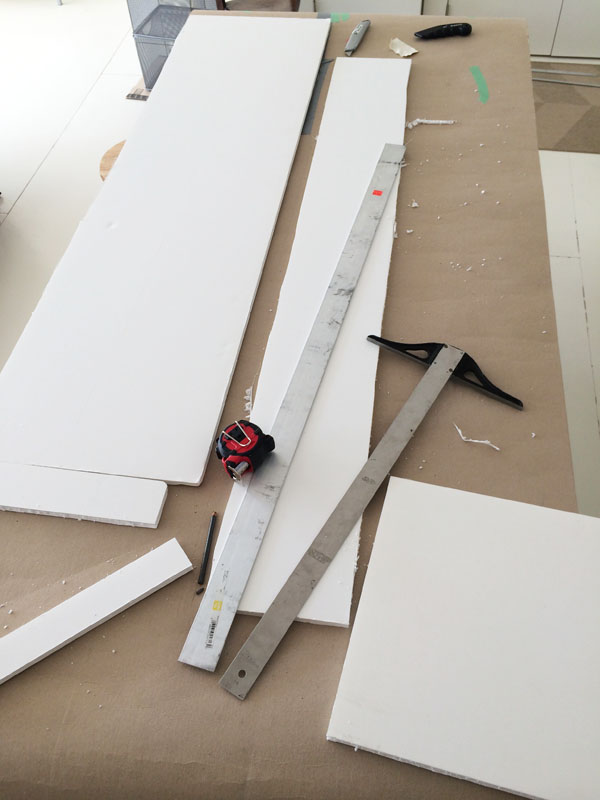
I called on my friend Bruce McKenna who had once been a set builder. He suggested we make a life-size prototype out of the 4’x6′ sheets of Foam Core I had stored under my bed from other projects. The first step was to make the most critical element, the Murphy Bed box, which would determine the placement of everything else. We laid a roll of construction cardboard on my kitchen island and started cutting the pieces.
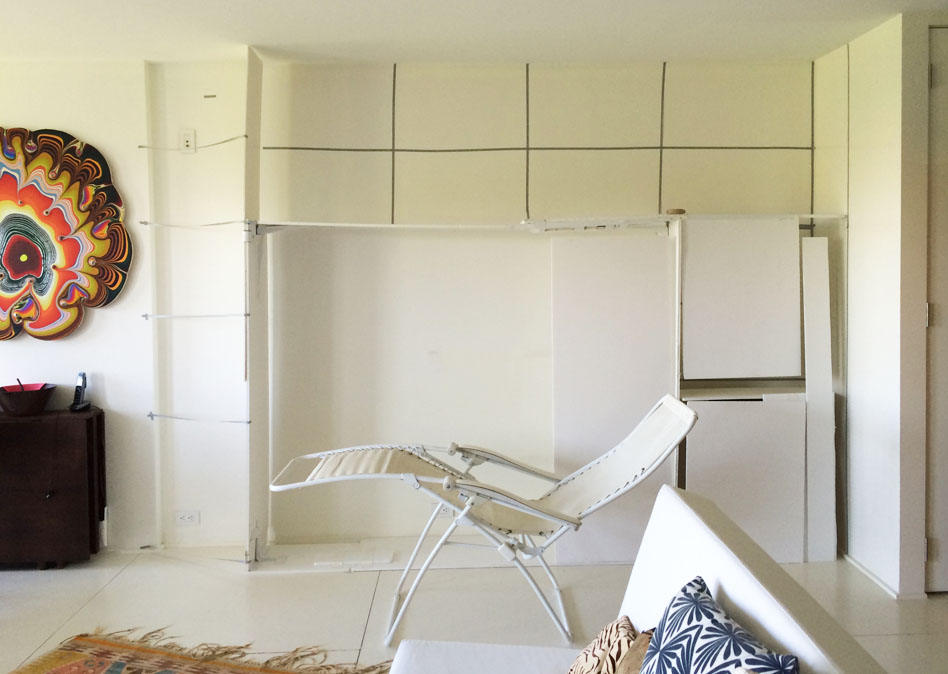
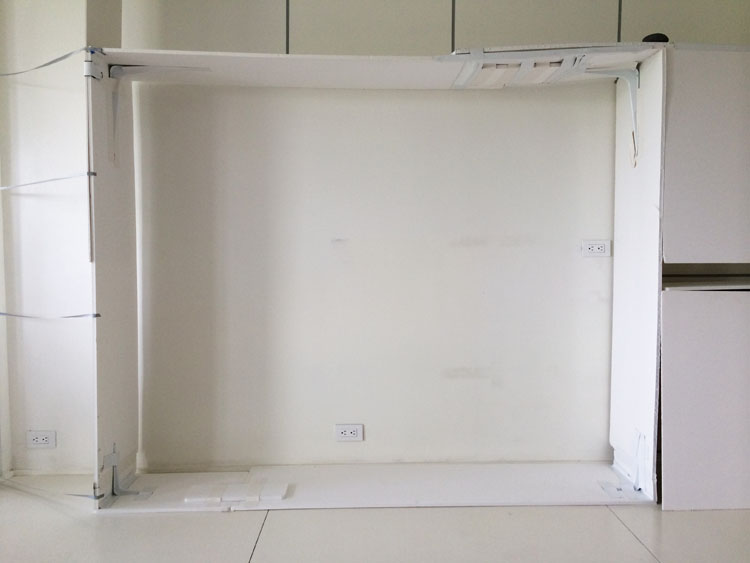
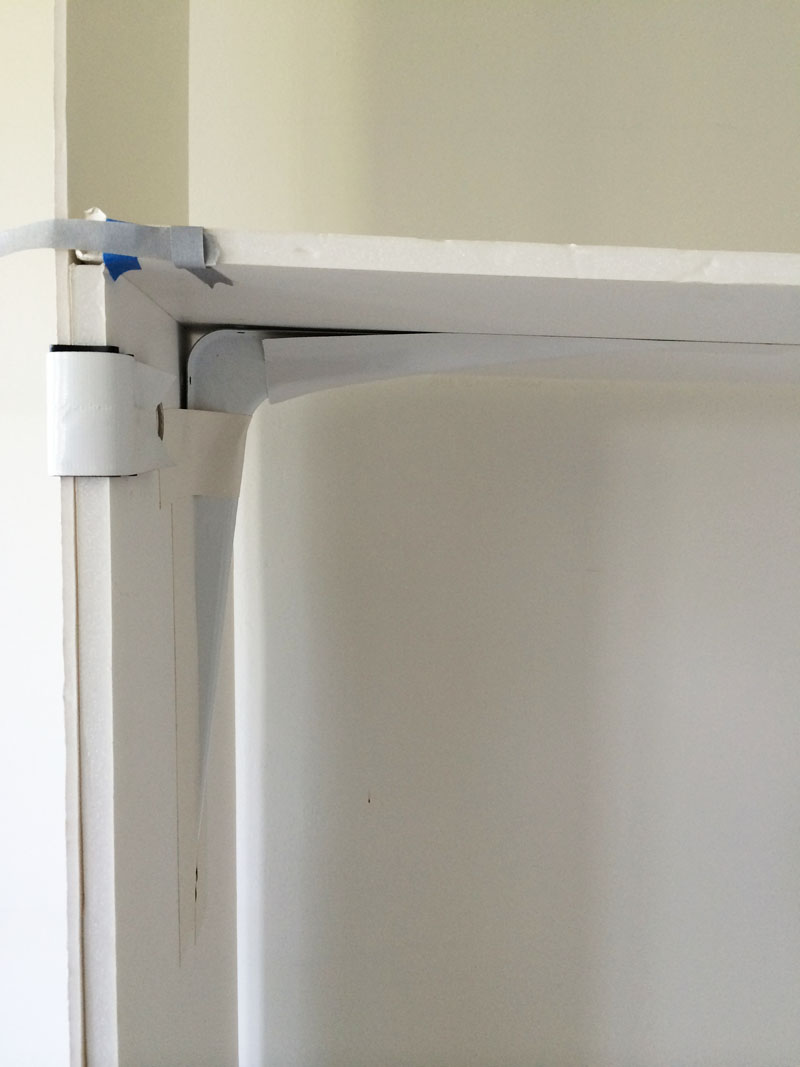
The next step was creating the box by taping it together with trusty white Gorilla Tape, with inexpensive brakets for support.
…
Having the crudely-made box, allowed me to position the “Murphy Bed” at different spots along the wall — inch-by-inch at times — to find where the right spot would be. (Pushing the box to the far right seemed like the logical placement to keep it from looking too big; when I tested it using a reclining beach chair as a “bed”, I discovered that the sleeper’s head would be right near the hallway and kitchen, which allowed for no sense of space or privacy. Finally I found a spot that felt right. I used 1/2-inch gray crepe paper masking tape to mark shelves. Instead of having closed shelving on the left, I’d have open triangular-shape shelves on which to display art and objects. Originally I thought to have part of the storage area to the right of the Murphy bed open. Using Foam Core scraps to see how the unit would look with doors convinced me that they would help the big panel of the Murphy bed recede visually. AND I’d have another closed cabinet for storage of my sewing machine and project materials. The bookshelves across the top would be set back to take up 12.5 inches of the 16-inch bed box, deep enough for art books or two rows of smaller books, AND leave a ledge on which to prop photographs and art to mask the weighty look of books.
Building the prototype helped me envision the complex wall unit. The next step: drawing up the plan so that the carpenter can start working on it. He will make the box and cabinets out of wood and paint them at his shop; then he’ll assemble the unit in the space. I can’t wait!